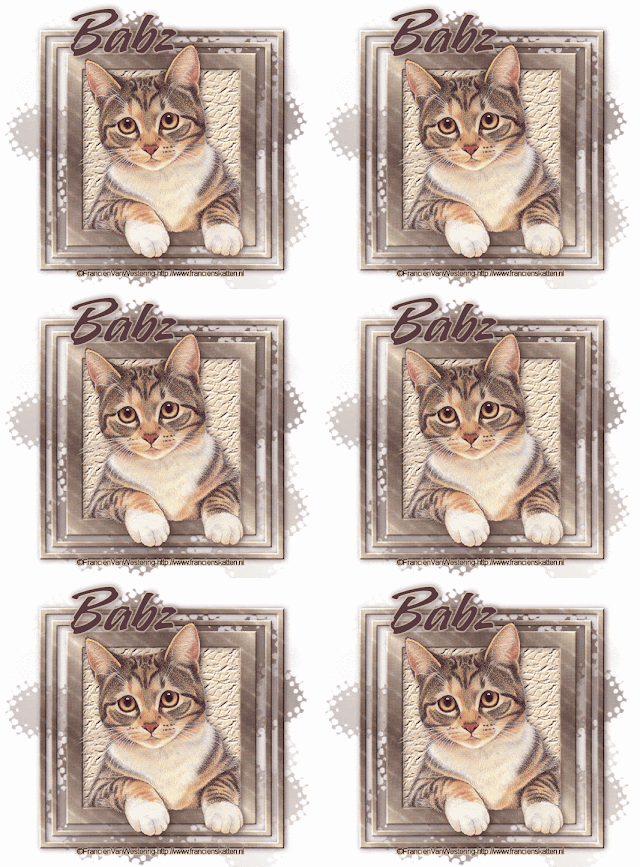
Too Cute Tutorial
Click on image to see larger version
This tutorial is fairly involved - so you will need a bit of time to
do it. Have a cuppa beside you. Remember to save often
You will need:
Tube - I used one of Francien van Westering's lovely kittens
Visit her site HERE
But any tube will do.
My 'Too Cute' Template & BeckyMask 038
HERE
Font I used is called 'LamboHmk Bold'
HERE
Open up my 'TooCute' template - click Shift D to copy it. You can now
close off the original one.
Delete my TOU - make bottom layer (white) active, go to Image-Canvas Size
with these settings
Open up & minimize BeckyMask 038
Keeping the bottom layer active - add a new Raster Layer. Select 2 colours
from your tube as Light/Foreground - Dark/Background - Flood Fill with Gradient
with these settings
New Mask Layer-From Image with these settings
Merge Group.
Freehand Selection Tool - draw around Fat Rectangle
With your Mask layer active - add a New Raster Layer - flood fill with the
light colour from your tube. Effects-Texture Effects-Textures - choose a nice
texture, click OK. Selections-None.
Make Rectangle-1 layer active - Magic Wand, click the rectangle - New Raster Layer,
flood fill with your gradient. Selections-None. Effects-3D Effects-Inner Bevel with
these settings
Give new rectangle this drop shadow
Delete original rectangle. Continue this for the next 2 Rectangles, remembering new Raster
Layer each time, as well as Inner Bevel & drop shadow.
Copy & paste your tube as a new layer. Position within the Fat Rectangle. Give drop shadow.
Add your name & correct copyright.
Your tag should look similar to this
ANIMATION
Cross out the eyes on all layers except the 3 Rectangle layers - MERGE VISIBLE these layers.
Make sure the merged rectangle layer is active - copy - Animation Shop - Paste as a New Animation
Go to Insert Image Effect-Underwater with these settings
Click on Customize with these settings
I have set Wave 1 to X-5 and Y 3 and Wave 2 to X3 and Y5 / click OK
You should have 15 Frames - delete the last frame. Go to Edit-Select All.
Back to your PSP - Cross out the eyes on all layers except the Background, Mask & coloured layers,
Copy Merged - AS - Paste as a New Animation. Go to Edit-Copy - click 13 times holding down your Ctrl & L keys
to give you 14 frames. (You will see the numbers on the lower right in your Animation Shop).
Edit-Select All - Back to your Animated Rectangles, click on top blue bar - Copy, back to mask frames, Paste Into
Selected Frame.
This is what you should have by now
Back to your PSP - Cross out eyes on all layers except your tube, copyright & name layers. Copy Merged.
Back to AS - Paste as a New Animation. Edit - Copy - Holding down your Crtl & L keys, click 13 times to
give you 14 frames. Edit-Select All - click Copy on top blue bar - on your rectangle & mask frames,
Paste into Selected Frame.
Now it is time to Crop & resize. Click the Crop Tool in your AS
Draw around the white background of your image - when you have done, double click with your mouse.
Go to Animation-Resize with these settings
Save as a *Gif
This tutorial was written by ©Kate on 25th October 2010.
Any resemblance to any other tutorial is purely coincidental.
You may Link to this tutorial, and/or print for your personal use only.
Please do not copy, rewrite, translate, place it (or Zip files)
anywhere on the web, send via email, or claim it as your own.


Comments
Post a Comment