Breast Cancer Aware
You will need:
My Supplies
HERE
Scrapkit from BlueDreamsDesigns
BCA-2009
HERE
A suitable tube
Font I used is Black Chancery that comes
with your PSP
Plugin Filter - DSB Flux - Bright Noise
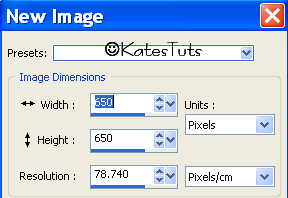
New canvas - white - 650x650
1- Selections - select all - new raster layer copy &
paste BD-BCA-2009-paper3 into selection.Select none
2- New Mask Layer-Add Mask -
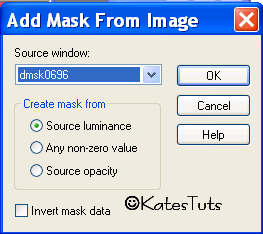
Merge Group.
Resize 85% - Resize all layers unticked
3- Copy & Paste BD-BCA2009-Frame1 - resize 70%
Resize all layers unticked.
4- Copy & Paste your tube as a new layer - rezise if required
& place it like mine.Drop Shadow
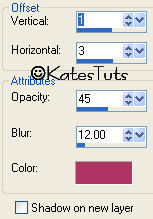
5- Give the frame the same Drop Shadow
6- Copy & Paste BD-BCA 2009-Cloud & place it over bottom of tube
like mine.
7- Copy & Paste BD-BCA 2009-Charm 1 - resize it 85 %, Give it the same Drop Shadow
8- Copy & Paste BD-BCA 2009-Heart - resize it 70%. Drag it under the Charm.
Image-Mirror. Erase the ribbon in Charm circle.
9- Back to the Frame - Magic Wand, click inside the frame - Selections-Modify-
Expand by 5. Copy & Paste BD-BCA 2009-Diamond Rain.Resize 85%. Invert & click delete.
Duplicate - Image-Mirror.Drag under Frame - Merge Down
10- Make your top layer active, Copy & Paste BD-BCA 2009-Label 12. Resize 70%
Image-Rotate-Free Rotate 90% Left & place it like mine. Give it the Drop Shadow
11- Copy & Paste BD-BCA 2009-Clip. Resize 65%. Place it over the Label, give it the
Drop Shadow
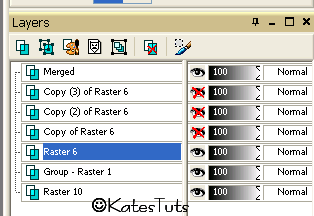
12- Add correct copyright. Add your name. Cross out the eyes on your Background layer,
Mask layer & Diamond Rain Layer - Merge Visable all other layers.
13- Making your Diamond Rain layer active, duplicate it 3 times to give you 4 layers.
Cross out the eyes on the top 3 layer, making Diamond Rain layer active,
go to Effects-
Plugins- DSB Flux - Bright Noise 35. Click OK.Cross out eyes on that layer & make next layer active,
back to DBS Flux - Bright Noise & click on MIX 2 times, click ok. Do this for the next 2 layer, clicking
on MIX 3 & 4 times for each layer.
14- Using your Crop Tool, crop around your image - you may need to resize it as well to a
suitable size. I resized mine by 80% - All Layer ticked this time
ANIMATION
15- Cross out eyes on the 3 top layers of your Diamond Rain, making original layer active,
Copy Merged - over to Animation Shop - Paste as a new Animation.
Back to your PSP, cross out eyes on original layer, making next layer active, Copy Merged,
AS - Paste After Currant Frame.
Keep doing this for the other 2 layers.
16- Edit - Select All - Save as a *Gif.
This tutorial was written by ©Kate on 21st September 2009.
Any resemblance to any other tutorial is purely coincidental.
You may Link to this tutorial, and/or print for your personal use only.
Please do not copy, rewrite, translate, place it (or Zip files)
anywhere on the web, send via email, or claim it as your own.


Comments
Post a Comment