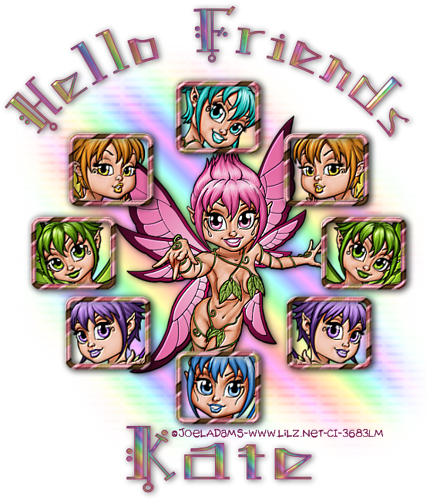
Rainbow's Fae
You will need:
My supplies HERE
6 tubes from same artist
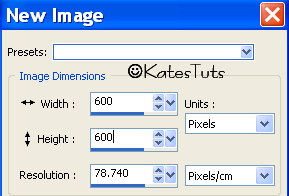
New white canvas 600 x 600
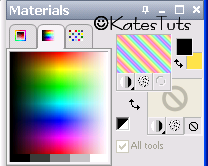
New Raster layer - go to your Materials pallett &
select a nice Rainbow Gradient colour
Flood fill the new layer - using the mask I supplied
Omask046_LY - Add Mask
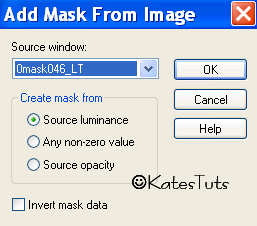
apply - Merge Groups - resize 90% all layers
un-ticked. Lower the Opacity to about 70%
Copy & paste the my template - Selections-Select All-Float-Defloat,
new raster layer - flood fill with the Rainbow Gradient. Select None,
delete original template layer
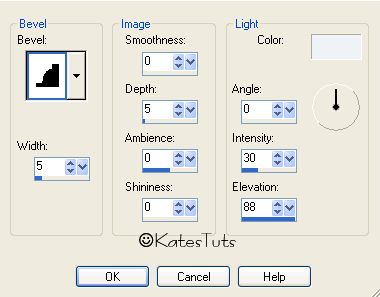
Effects-Inner Bevel with these settings
Magic Wand - select inside top square-Selections-Modify-Expand 2
copy one of the tubes, paste & move it to the selected square. You may have
to resize the image to fit nicely in the square.Selections-Invert, click delet on
your keyboard - Select None. Move this image below the squares. Magic Wand again,
select the inside of next square, do the same as before, paste next tube, resizing
if needed - invert - delete - select none & move it down. Continue untill all squares
have images in them. Close off your background layer & the squares layer, merge invisable
other layers.
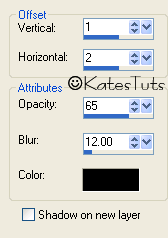
Give the squares this drop shadow
Time now to add your name & correct Copyright
Crop Tool - crop around to minimise the white background.
Close off the white background - merge visable all other layers.
Having your merged layer active - Copy Merged & paste as a New Image.
Resize if needed & save as a *Png
This tutorial was written by ©Kate on 27th November 2009.
Any resemblance to any other tutorial is purley coincidental.
You may Link to this tutorial, and/or print for your personal use only.
Please do not copy, rewrite, translate, place it (or Zip files)
anywhere on the web, send via email, or claim it as your own.


Comments
Post a Comment