Something Different

You will need:
My supplies: HERE
A tube
Xero Plugin Filter-Fritillary
Font of choice - I used: HarlowSolidItalic-size 72
Animation Shop
Open up the SD supplies in PSP. Click Shift D to duplicate the template.
Close off original template & delete my TOU layer.
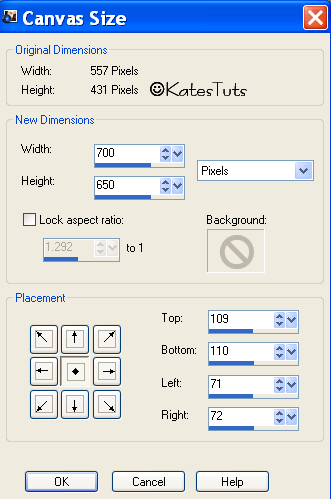
Make bottom layer active - go to Image-Canvas Size with these settings
Using you Flood Tool - flood bottom layer white. We will trim this down later
Make the Shape layer active - Selections-Select All-Float-Defloat-New Raster Layer,
flood Fill with a dark colour from your tube-Select Non.
Delete the original Shape layer
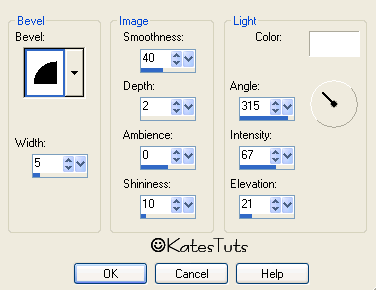
Effects-Inner Bevel with these settings
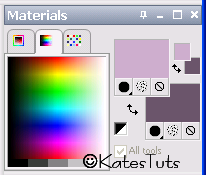
Make the Inner Circle layer active - select 2 colours from your tube - one light-other darker
in your Materials
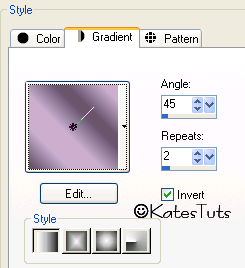
Select Gradient - Foreground/Background Gradient with these settings
Selections-Select All-Float-Defloat - New Raster layer, flood fill with gradient
Select None
Make the Circle Frame layer active - Select All-Float-Defloat - New Raster Layer - flood fill with light colour
from you tube - Select None - same inner bevel as before
Copy & paste the tube & centre it in the circle - you may have to resize - see mine as example.
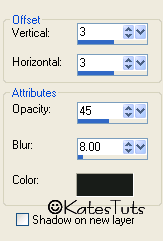
Give the tube & Circle Frame this Drop Shadow
Copy & paste my WordArt as a new layer.
Add your name & correct copyright.
Back to your Shape layer - duplicate it 2 times to give you 3 layers.
Cross out the eyes on 2 top layer, making original layer active, go to
Effects-Plugins-Xero-Fritillary with these settings
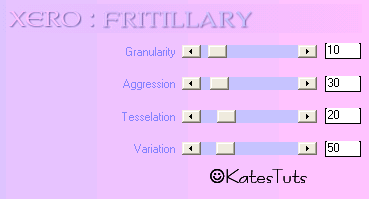
Next layer change the Varition to 60 - then last layer to 70.
Using your Crop Tool, crop around your image to rid most of the white background.
At this stage you might want to resize you image - I resized mine by 80% Bicubic,
All Layers Checked
ANIMATION
Cross out the eyes on the 2 duplicated Shape layers making original Shape laye active,
Copy Merged - Animation Shop - Paste as a New Animation.
Back to your PSP, uncross next layer - crossing out the eyes on 1st layer, copy merged,
AS - paste after currant frame. Continue this for the last layer in your PSP.
You should have 3 frames in AS - hold down your Ctrl key plus A to select all.
Save as a *Gif
This tutorial was written by ©Kate on 12th December 2009.
Any resemblance to any other tutorial is purely coincidental.
You may Link to this tutorial, and/or print for your personal use only.
Please do not copy, rewrite, translate, place it (or Zip files)
anywhere on the web, send via email, or claim it as your own.
Comments
Post a Comment