Rosie Tutorial

You will need:
A tube
A font
Scrap Kit 'WholeLottaRosie' from
Cinnamon Scraps HERE
Scroll down a little to find the Scrap Kit & link to down load
Plugin Filters-MuRa's Meister-Cloud
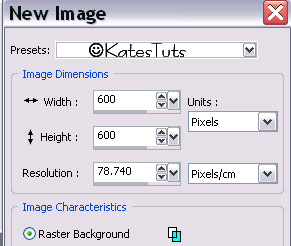
New white canvas 600x600
Copy & paste CS_wholelattarosie_frame1 as a new layer
Resize 90% Bicubic-all layers unchecked
Freehand Selection Tool with these settings

Draw around the outer Frame. You should have marching ants
like this

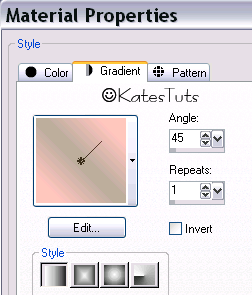
New Raster Layer - move this below the frame layer. Select 2 colours from your tube
as foreground & background colours in your Material Pallette - Gradent with these settings
Keep selected - Effects-Plugins-MuRa's Meister-Cloud with these settings
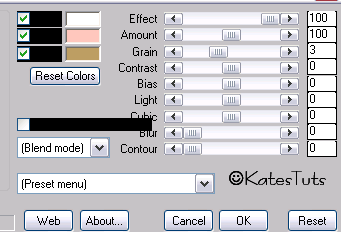
Select None.
Copy & paste your tube as a new layer (top). With your Freehand Selection Tool, draw around
any of the tube that may be below the frame
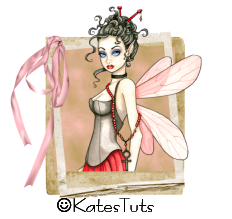
Give the tube this Drop Shadow
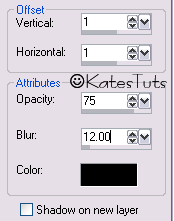
Frame as well.
Copy & paste CS_wholelottarosie_embelishment1 as a new layer-resize 50% Bicubic-all layers unchecked
Copy & paste one of the other embelishments, resizing it a bit smaller...duplicate bothe resizing down each
duplicated layer & placing similar to mine.
Merge down each layer of the rosettes - give them the same Drop Shadow as before.
Copy & paste CS_wholelottarosie_bow5 as a new layer - resize 80% Bicubic-all layers unchecked
Place it top right of the frame.
Copy & paste CS_wholelottarosie_bow9 as a new layer- resize 55% Bicubic-all layers unchecked.
Place that bow over bow5 - merge down. Give bows the same drop shadow as before
Move the bows layer below your tube layer.
Cross out eyes on bottom layer-Merge Visible all other layers.
Add your name & correct copyright-Merge Down-Copy & paste as a New Image on your work area.
Resize if needed.
Save as a *Png
This tutorial was written by ©Kate on 7th January 2010.


Comments
Post a Comment